Plain HTML websites are fine… until they’re not. The moment you want to add a blog, tweak a headline without digging through code, or install a simple contact form plugin, you realize just how boxed in a static site really is.
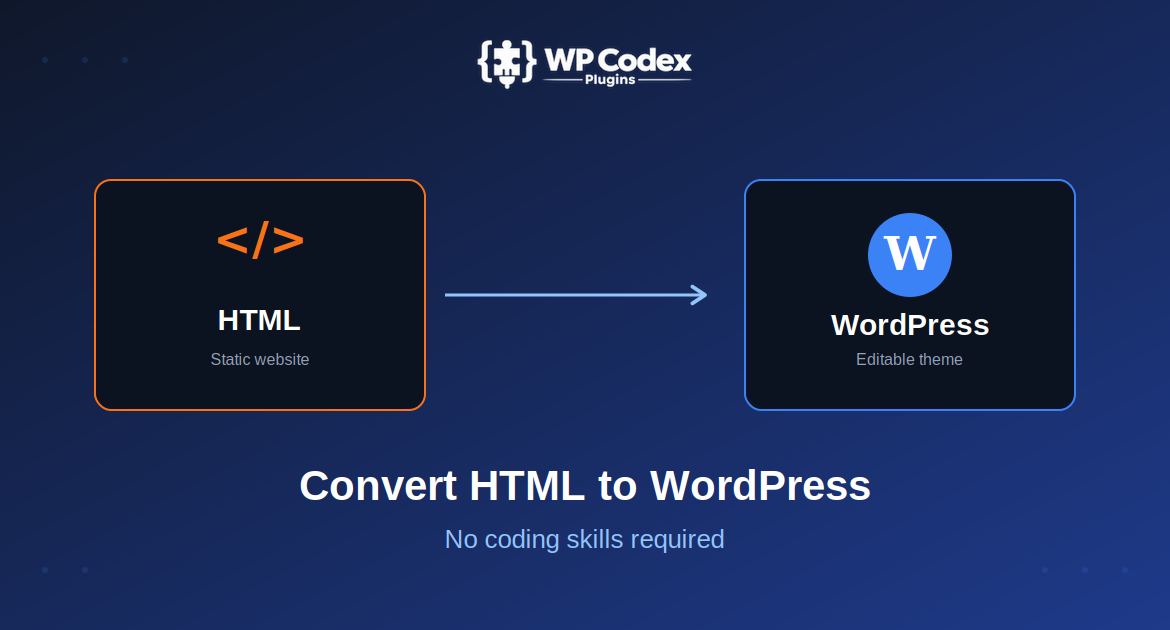
That frustration is usually what sends people searching for a way to convert HTML to WordPress theme format. The idea is simple: keep the design you already built, but move it onto a platform where you can actually manage it yourself.
Here’s the part most people don’t expect – you don’t need to touch a single line of PHP to make this happen. In this guide, I’ll show you the manual process (for anyone curious how it actually works under the hood), and then a much faster route using our free HTML to WordPress converter tool that does the conversion for you in a few clicks.
Why Bother Converting to WordPress at All?
Fair question. If your HTML site already looks good, why change anything?
A few reasons tend to come up again and again:
- You want to edit content yourself, without emailing a developer every time
- You’re tired of not having plugins – no SEO tools, no forms, no security add-ons
- Adding a blog section to a pure HTML site is a pain (WordPress does this natively)
- You’re planning to scale the site and need something more flexible long-term
- SEO plugins like Yoast or Rank Math make on-page optimization far less tedious
If any of that sounds familiar, converting is probably worth your time – whether you’re running a small business site, a portfolio, or managing sites for clients.
Method 1: Converting HTML to WordPress Manually
If you like understanding what’s happening behind the scenes (or just want full control), here’s roughly how the manual process goes.
Step 1: Get WordPress Installed First
Before anything else, you’ll need WordPress running somewhere – either on live hosting or a local setup like Local by Flywheel or XAMPP.
Step 2: Create a New Theme Folder
Head into wp-content/themes/ and make a folder for your theme. Something like my-custom-theme works fine.
Step 3: Break Your HTML File Apart
This is where it gets a bit tedious. WordPress expects your site split into specific files:
header.phpfooter.phpindex.phpstyle.cssfunctions.php
You’ll be copying your header section into header.php, your footer into footer.php, and so on – then stitching them back together using WordPress functions like get_header() and get_footer().
Step 4: Add a Style.css Header Comment
WordPress won’t recognize your theme unless style.css starts with a comment block listing the theme name, author, and version number. Easy to forget, and it’ll break things if you skip it.
Step 5: Swap Static Content for WordPress Functions
Hardcoded menus and content blocks need to become dynamic – think wp_nav_menu() instead of a plain <ul> list, and the_content() instead of pasted-in text.
Step 6: Test Everything
Activate the theme under Appearance > Themes, then click through every page. Something almost always looks off the first time – that’s normal.
Honestly? This method works, but it’s slow, and it assumes you’re comfortable reading PHP. Most non-developers hit a wall somewhere around Step 3.
Method 2: The No-Code Way to Convert HTML to WordPress
If reading “functions.php” made your eyes glaze over a little, you’re definitely not the only one. This is exactly why converter tools exist.
Here’s what the process looks like with our free HTML to WordPress converter:
- Upload your HTML and CSS files (or your site URL, depending on which version you’re using)
- Hit convert – the tool handles the file splitting and template setup automatically
- Download the finished theme as a
.zipfile, ready to install - Go to Appearance > Themes > Add New > Upload Theme and upload it
- Activate – that’s it, you’re done
No editing PHP files, no guessing where a broken template tag went wrong. What takes hours (sometimes days) manually usually takes a few minutes this way.
Try the free HTML to WordPress converter now if you’d rather skip the manual steps entirely.
After You Convert, Check These Things
Don’t skip this part – a quick check now saves you a headache later:
- Click through every page and link to catch anything broken
- Check how the site looks on mobile
- Make sure images and fonts actually loaded properly
- Confirm the nav menu is editable from the dashboard
- Install an SEO plugin (Yoast or Rank Math are both solid)
- Add caching and a security plugin while you’re at it
Manual vs. Converter Tool – Which One Actually Makes Sense?
| Factor | Manual Method | Converter Tool |
|---|---|---|
| Coding knowledge required | Yes (PHP/HTML) | No |
| Time required | Hours to days | Minutes |
| Risk of mistakes | Higher | Lower |
| Cost | Free, but time-heavy | Free / low-cost |
| Best suited for | Developers, custom builds | Beginners, quick migrations |
If you genuinely want to control every template file down to the last line, go manual. But if your goal is just getting your existing design working inside WordPress without the learning curve, a converter tool is the more realistic option for most people.
Frequently Asked Questions
Can any HTML site be converted to WordPress?
Most standard HTML and CSS sites convert without issues. Sites with heavy custom JavaScript might need a bit of manual cleanup afterward.
Will my design change during conversion?
No – the whole point of converting HTML to a WordPress theme is keeping your design exactly as it is, just making it editable through WordPress.
Do I need hosting set up beforehand?
Yes, you’ll need WordPress installed somewhere – local or live – before you can upload and activate your converted theme.
Does this actually help with SEO?
It can. WordPress gives you access to SEO plugins, cleaner URLs, and faster content updates – all things that tend to support better rankings over time, though the conversion itself isn’t a ranking factor.